Choose the kind of PFP you need first
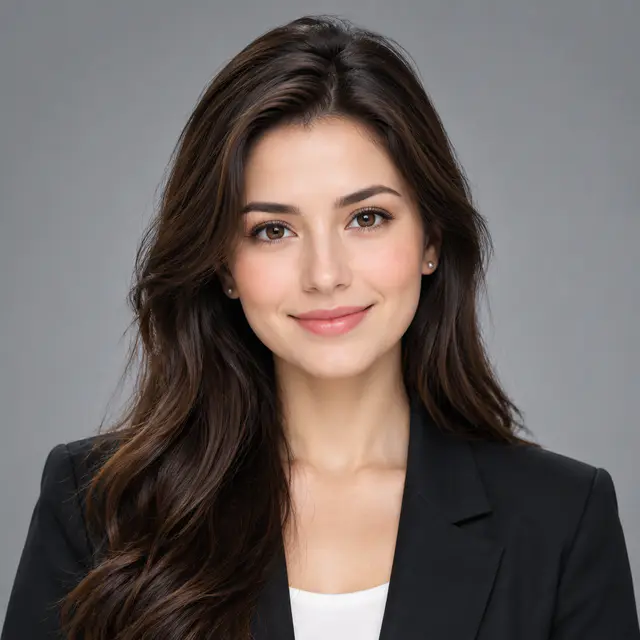

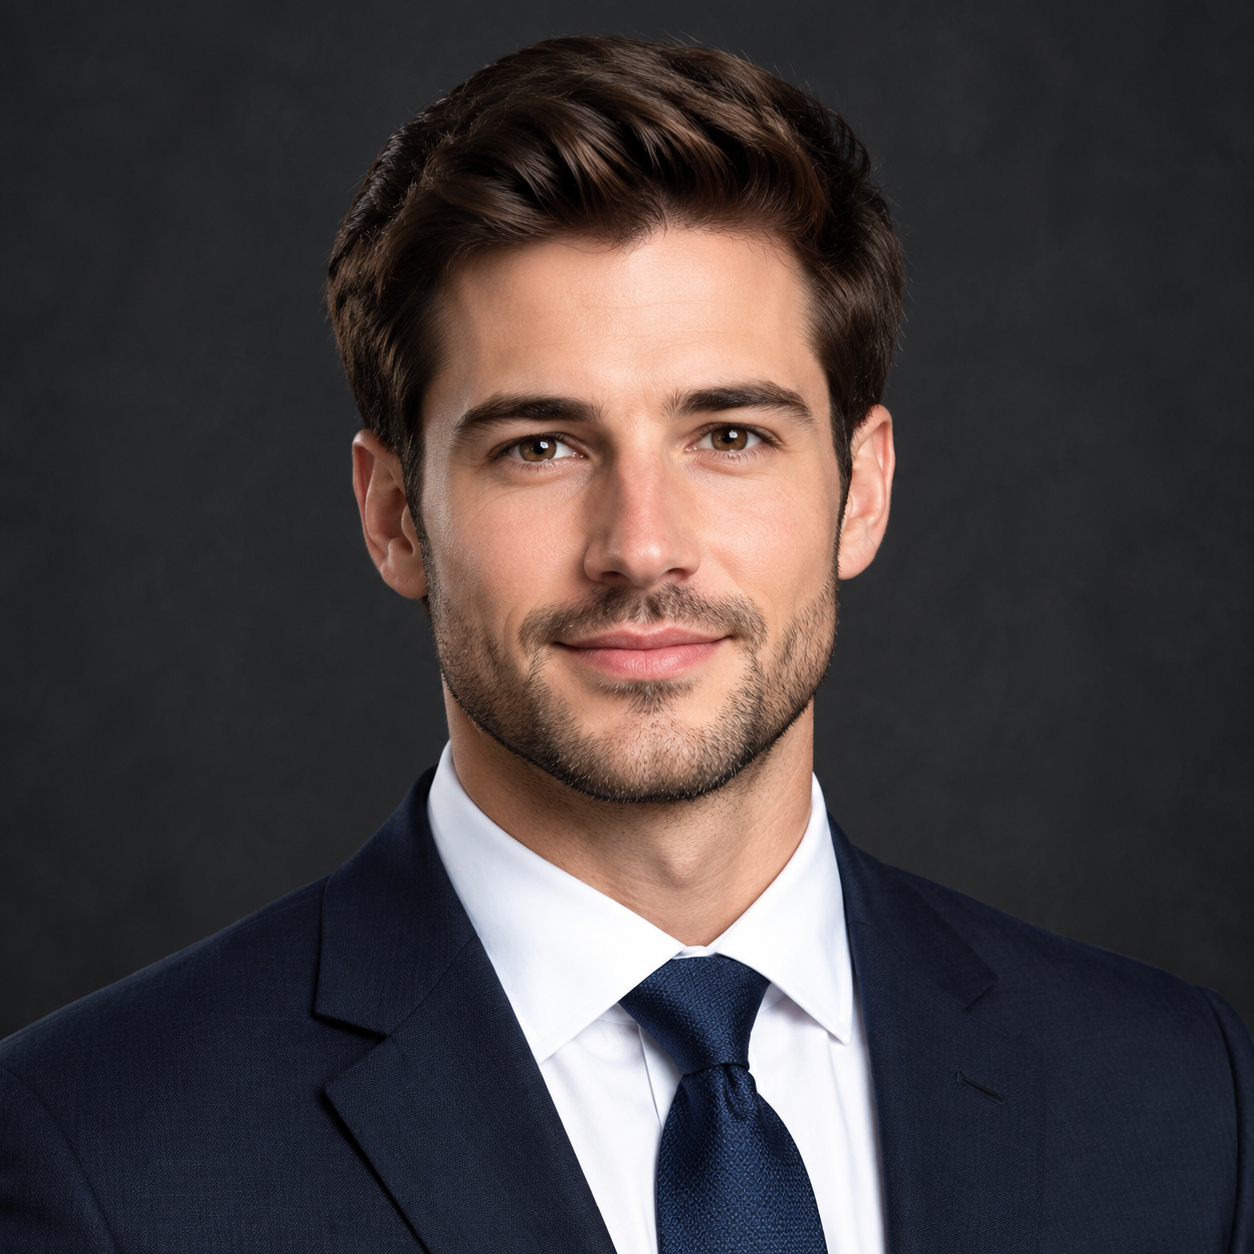
A PFP can be a portrait, a character, a pet, a logo, or a simple visual symbol. Before you make one, decide where it will appear and what it needs to communicate. A professional account usually needs a current, recognizable likeness. A gaming, creator, or community account has more room for a stylized character, mascot, or graphic look.
Keep the final use in mind while you choose a direction. Most profile pictures are seen in a small circle beside a username, so one clear subject and a simple background matter more than a lot of tiny details.
The quick workflow: idea, direction, result
The basic process is short. Start with an idea or reference. Pick a visual direction. Add the details that matter. Generate a square version, then check whether it still reads at avatar size. If the first result is close, revise one or two details instead of replacing the whole prompt.
PFPSpace has three ways to start. Text Prompt is for an idea you can describe. Style Template is for a ready-made look, with an optional photo as the subject reference. Custom Reference is for combining one style image with a separate main image.
| Method | Start with | Best for |
|---|---|---|
| Text Prompt | A written description | Characters, symbols, pets, scenes, or a PFP without a personal photo |
| Style Template | A built-in style and an optional subject photo | Turning a selfie or existing image into a clear visual direction |
| Custom Reference | A style image and a main image | Keeping the subject separate from the style, color, or composition you want to borrow |
Make a PFP from a written idea
Choose Text Prompt when you do not need to use a photo. Describe the subject first, then add the style, expression or mood, color palette, and background. A prompt like "cute black cat astronaut, soft purple space background, calm expression, clean illustrated PFP" gives the image a useful direction without trying to do too much at once.
Avoid stacking styles that fight each other. Asking for photorealistic, pixel art, watercolor, anime, and minimal design in the same prompt leaves the result with no clear visual goal. Pick one main direction and adjust it after the first generation.
- Name the main subject before adding decorative details.
- Choose one style and one mood.
- Ask for a centered composition with background space around the subject.
Turn a photo into a styled PFP
Choose Style Template when you want a built-in direction such as Anime, Aesthetic, Cinematic, Gaming, Cute, Minimal, Dark, or Pixel. Pick the template first, then upload an optional main image if you want the generator to use your selfie, pet, character, or object as the subject reference.
Add a short description for the parts the template cannot know: expression, outfit, lighting, colors, background, or a closer crop. A clear source photo with one visible subject gives you more control than a group picture, a dark screenshot, or an image with text across it.
- Use a JPG, PNG, or WebP reference under 10 MB.
- Keep the source subject visible and reasonably well lit.
- Change one detail at a time if you want to refine the result.
Use two images when the subject and style are different
Custom Reference gives each image a separate job. Upload the visual inspiration as Style Reference. It can guide the color, lighting, materials, and composition. Upload the image you want to transform as Main Image. It tells the generator who or what the PFP should be about.
This mode is useful when you want a personal photo in the look of an illustration, a game character in the palette of another image, or a pet rendered with a particular atmosphere. Both images are required, so choose references that point in the same general direction.
- Put the style image in Style Reference, not Main Image.
- Use the clearest subject image you have.
- Keep the two references compatible enough that the result has a clear goal.
Pick a ratio that suits the final use
Use 1:1 Square for most profile pictures. It is the safest source for Instagram, TikTok, Discord, YouTube, LinkedIn, and other services that begin with a square upload, even when they display it in a circle. Use 3:2 Landscape or 2:3 Portrait only when you also want the generated image to work as a post, banner, or other non-avatar asset.
PFPSpace produces full-bleed images without a circular frame, badge, or transparent corners. Keep the main face, logo, or character inside the middle of the square, then let each platform apply its own display shape.
Check PFP sizes for social mediaCheck the PFP at the size people will see
A result can look polished at full size and still feel confusing beside a username. Reduce it until it resembles a small avatar in a comment or member list. The face, silhouette, or logo should remain easy to identify without relying on tiny text or background details.
Preview the square with a circle over the middle before you upload. If the circle cuts through the head, logo, or important accessories, pull back the crop or give the subject more surrounding space. A clean square master is more reusable than a pre-cut circular image.
Learn how to crop a PFP for a circleDownload the original and keep it
When the result feels right, download the original file instead of taking a screenshot of the preview. Keep it as your master copy for future platforms, a new crop, or another round of editing. A good PFP can travel across several accounts, but each platform may need a slightly different crop or level of contrast.
Create your PFPSources and further reading
The structure of this guide was checked against current profile picture maker tutorials and tool pages. Their workflows commonly move from a starting image or template to editing, crop checks, and download. The creation options described above are specific to PFPSpace.