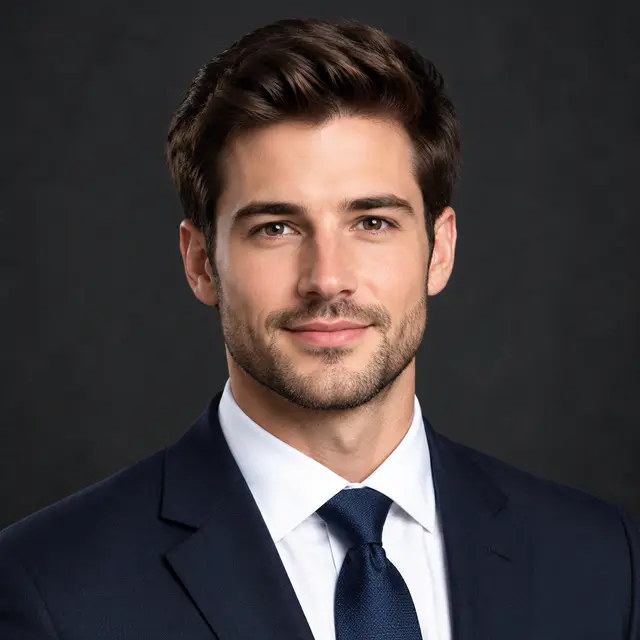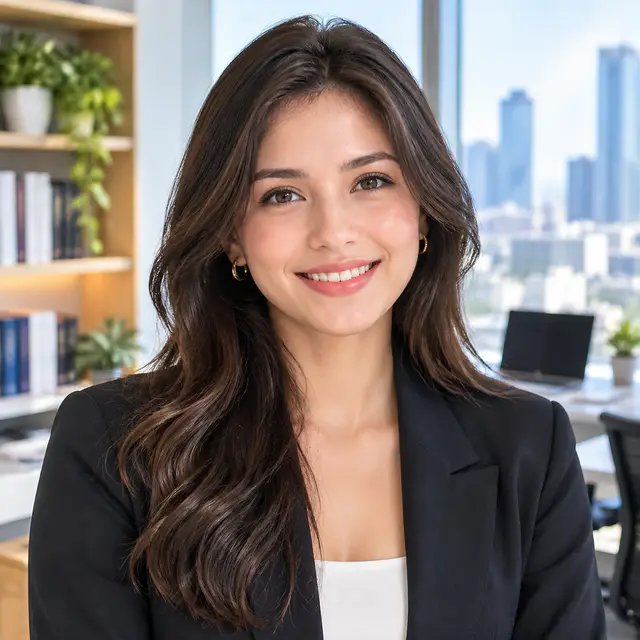
Start with a photo that gives the generator something to work with
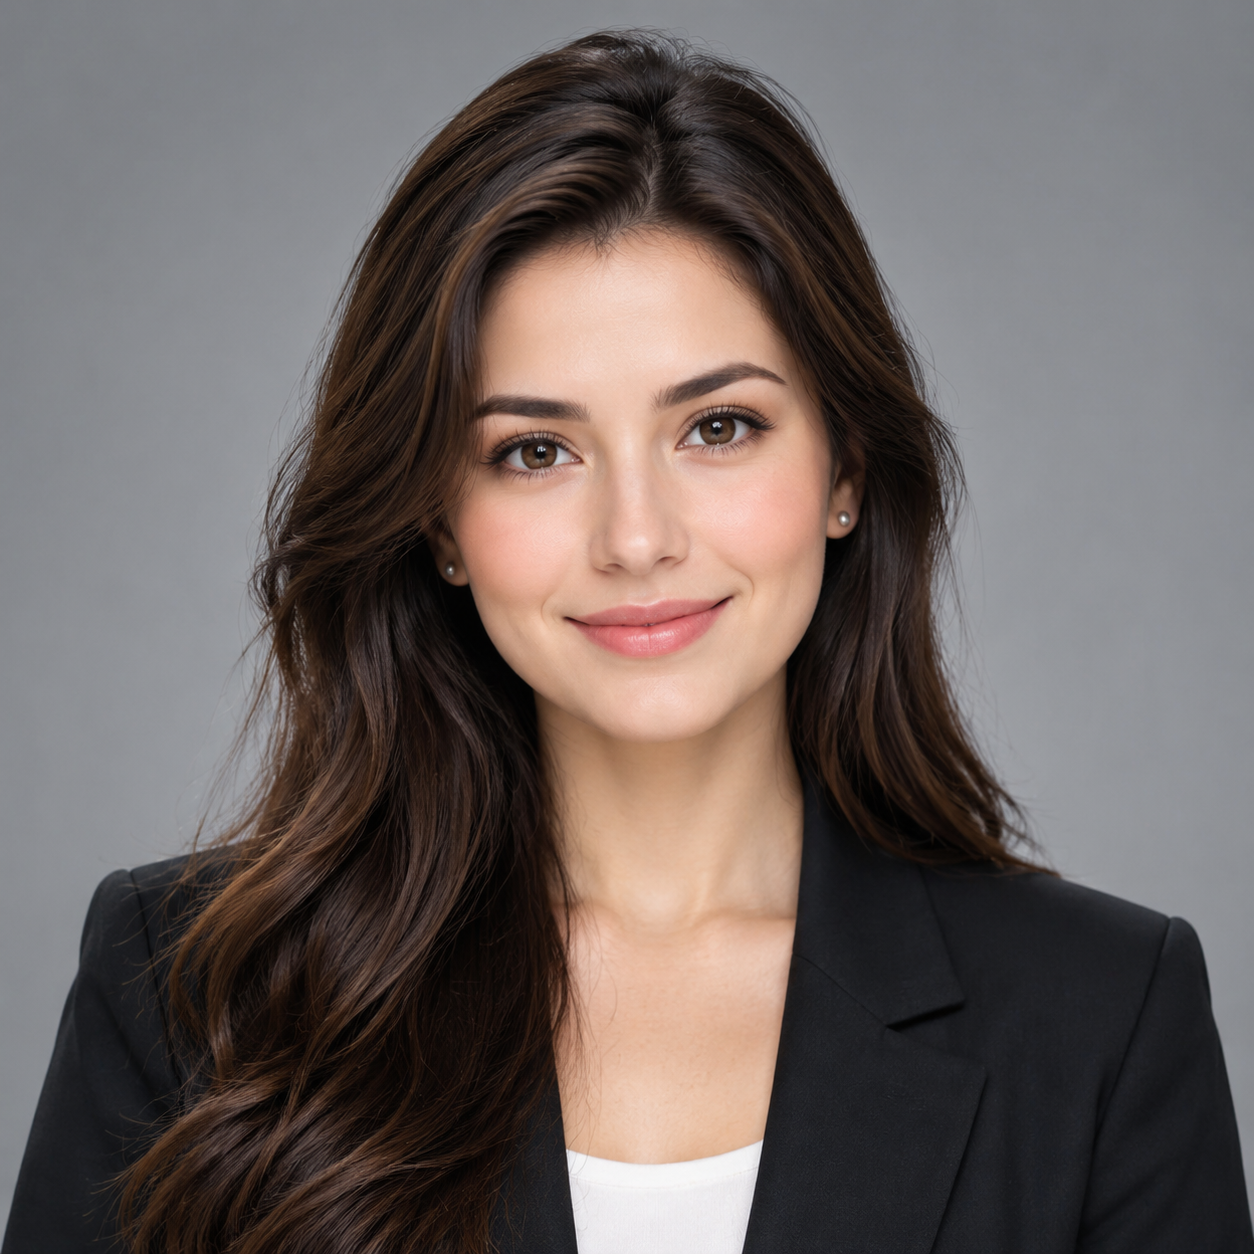
Use a clear photo with one main subject. A selfie, portrait, pet, character image, or object can work, but the subject should be visible and not buried in a crowd, shadow, or heavy filter. The generator has more room to interpret a clean starting image than a tiny screenshot or a distant group photo.
PFPSpace accepts JPG, PNG, and WebP reference images up to 10 MB each. If you plan to use two references, keep their combined size under 20 MB.
- Use a photo where the face, pet, or object is easy to identify.
- Choose a source with enough light and contrast around the subject.
- Avoid screenshots with UI elements, captions, or watermarks when possible.
Choose the right way to make your PFP
PFPSpace has three creation modes. Text Prompt is useful when you have an idea but no reference photo. Style Template is the quickest way to turn a photo into a PFP in a defined look. Custom Reference gives you separate control over the visual style and the main subject.
| Mode | Use it when | What you add |
|---|---|---|
| Text Prompt | You only have an idea | A written description |
| Style Template | You have a photo and want a ready-made visual direction | One template, an optional photo, and a description |
| Custom Reference | You want one image to guide the style and another to guide the subject | A style image, a main image, and a description |
Use Style Template for the fastest result
Choose Style Template, then pick a direction such as Anime, Aesthetic, Cinematic, Gaming, Cute, Minimal, Dark, or Pixel. The template sets the visual language. If you upload a photo, it gives the generator a subject to work from. Your description can then control the mood, clothing, expression, background, colors, or composition.
Keep the first prompt plain and specific. For example: "soft anime portrait, green hoodie, calm smile, pale blue sky background" says more than a long list of unrelated styles. Generate once, change one or two details, then compare the new version with the first.
- Choose one style template before adding extra effects.
- Name the subject first, then the expression, palette, and background.
- Use the photo as a reference, not a guarantee of an exact likeness.
Use Custom Reference when the style and subject come from different images
Custom Reference uses two uploads. Add the image whose colors, light, materials, or composition you want to borrow as Style Reference. Add the photo or image you want to transform as Main Image. The first image should explain the look. The second should explain who or what the final PFP is about.
Use a short description to resolve the details that neither image makes clear. You might specify a neutral expression, a different outfit, a darker background, or a closer crop. Both uploads are required in this mode.
- Put the style inspiration in Style Reference, not Main Image.
- Use the clearest version of the main subject you have.
- Do not upload two unrelated images and expect the result to choose the connection for you.
Write a description that gives the photo a direction
A reference photo establishes the starting point. The description tells the generator what should change. Use four parts: subject, visual style, mood, and background. You can add a fifth part for a detail that matters, such as glasses, a favorite color, an outfit, rain, neon light, or a particular expression.
Try: "cute illustrated orange cat, soft pastel colors, curious expression, garden background". For a personal portrait, try: "cinematic profile portrait, dark brown jacket, relaxed expression, warm city lights behind". Avoid asking for every style at once. Anime, photorealistic, pixel, watercolor, and minimalist in one prompt usually creates a confused direction.
- Describe what should be visible, not only what should be avoided.
- Use one main mood: calm, playful, dramatic, polished, or mysterious.
- Change one detail at a time when refining a result.
Choose an aspect ratio, then check the full image
Use the 1:1 Square option when the image is mainly for a profile picture. The 3:2 Landscape and 2:3 Portrait options are useful when you also want to reuse the result in a banner, post, or story. A square source is the safest starting point for most account avatars because platforms can fit it into their own display shape.
PFPSpace generates full-bleed images. It does not add a circular avatar frame, border, badge, or transparent corners. Before downloading, view the result small enough to judge whether the face, character, pet, or logo still reads beside a username.
- Keep the main subject away from the outer corners.
- Use stronger contrast if the result will appear in a dark chat interface.
- Save the original result so you can prepare a different crop later.
What to do when the first result is close but not right
A useful result often arrives after one or two focused revisions. If the subject is too small, ask for a closer portrait. If the colors are too busy, name two or three colors you want to keep. If the image loses the intended mood, simplify the description rather than adding more instructions.
When a reference-based result drifts too far from the subject, start with a clearer main image, remove conflicting style terms, and use a simpler background. If you need a different visual direction, switch templates or replace the style reference instead of trying to force everything through one prompt.
- Too much background: ask for a close head-and-shoulders composition.
- Too many visual effects: keep one style and remove extra adjectives.
- Unclear subject: replace the source with a brighter, simpler image.
Download the version you can actually use
Once you have a result that reads well at a small size, download the original image. Keep the full file rather than taking a screenshot of the preview. The same source can be used for a social profile, community account, or later edit, while each platform can apply its own display crop.
Make a PFP from your photo